Go to SOA_ORACLE_HOME, E:\OraMiddleware\OracleSOA\common\bin and run the config.cmd file, with –log option
>config.cmd –log=E:\config.log
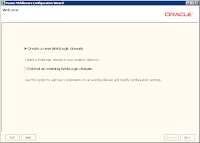
For the fresh install, create a new Weblogic Domain
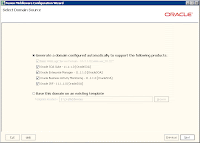
Select Oracle SOA Suite, Enterprise Manager and BAM, the dependent products are selected automatically
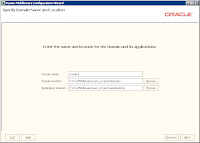
Specify domain name of choice, we gave “soadev”
Provide the username and password for the administrator, username:weblogic, password:welcome1
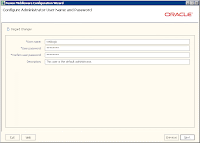
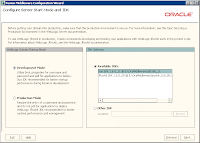
Configure the server start mode as Development Mode, using SUN SDK
Select all the component schemas, and provide the Oracle SID Name, in our case it is orcl11g and the host name as “wbi”.
The screen looks as the snapshot below:
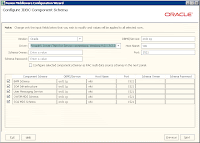
Now deselect all the component schema, except BAM Schema. Now here you need to provide the “Schema Owner Name” and “Schema Password” as you provided in Step 4 of 7 of the RCU. Refer to the snapshots in RCU document.
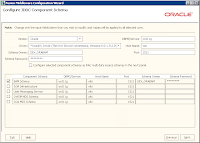
Repeat this for all other component schemas. This would give you the following:
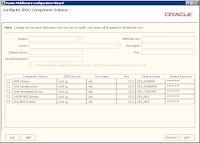
Deselect all, and move to next screen. This starts testing the connections –
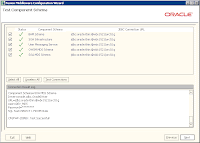
Acquire the test result,
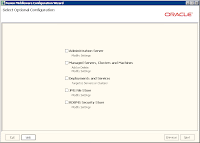
Since we would like to go with default options, we would not select any option on the screen below.
The important ports to remember are :
Admin Server: 7001
BAM server:8001
SOA Server:9001
Now click create, it would create the domains,
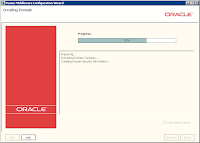
Once finished, you should be ready to go –
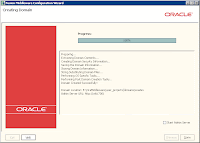
Click Done and dismiss the screen, your Oracle SOA Suite is now installed fully.
Now to start the SOA and BAM server, first start the weblogic server,
Open the command window, traverse to the Domain Location, specified in the Create Domain screen.
E:\OraMiddleware\user_projects\domains\soadev\bin> startWebLogic.cmd
Ensure the WLS is up, using http://localhost:7001 and http://localhost.7001/em
Once WLS is up and running, To start the SOA Server, type in the command
E:\OraMiddleware\user_projects\domains\soadev\bin>startManagedWebLogic.cmd soa_server1
Check if SOA server is up using
http://wbi:8001/integration/worklistapp
http://wbi:8001/b2b
To start the BAM server,
E:\OraMiddleware\user_projects\domains\soadev\bin>startManagedWebLogic.cmd bam_server1
Check the BAM server, http://wbi:9001/OracleBAM
This would ensure that your Oracle 11g SOA Suite is up and running. Happy Programming.


 And the install begins…
 On a good day, you would see


 3. Select the installation type as “Enterprise Edition”
 4. Set the directory of install to E:\OracleDB
 5. Now the installer checks the prerequisites
 6. Now Select Configuration option, suggested “Create Database”


 10. Since we do not need any email notification, lets keep it unchecked.


 19. This ends the installation of Oracle Database 11g for SOA Suite.
 This would begin prerequisite check
 Metadata Services – DEV_MDS
 Note:You must remember or make a note of the password(s) from this screen; you will need them later when you are configuring your products.


